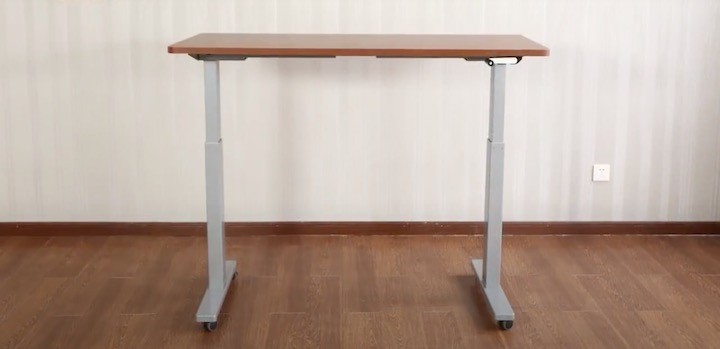
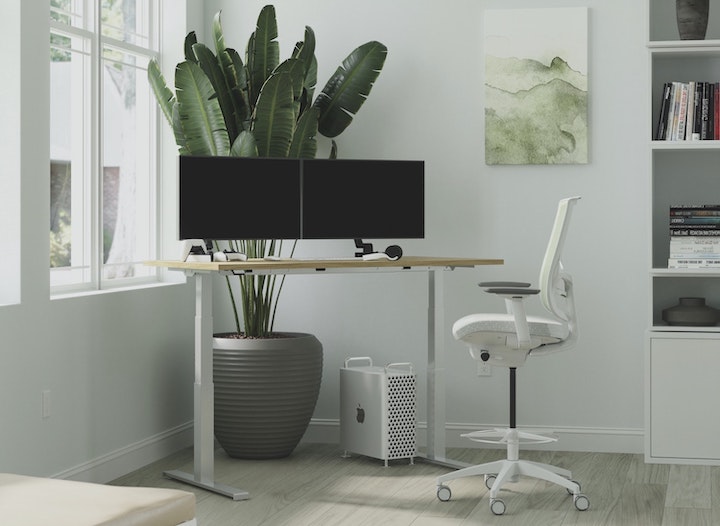
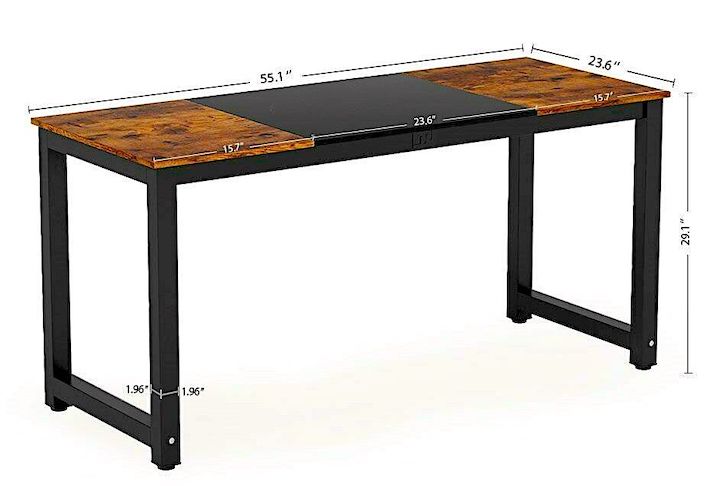
Some DIY standing desks are fixed in one place with a non-adjustable height option while others can convert from a regular sitting desk to a standing desk by crank or motorized adjustment knobs. Besides, building your desktop platform means you have the freedom of design, wood, and color choice. and you don't have to worry even if you are new to woodworking because there are a couple of options for starters (and we shall get into that later).
The obvious routes you can choose from include:
- Building your desktop from hardwood.
- Purchase an industry desktop frame and attach your wooden top.
- Use plywood and edge banding.
Step-by-step guide on how to build a lifting desk
Page Contents
Getting a ready-made standing desk can cost you a lot, but you can build your own lifting desk DIY instead. What this comes down to is spending less on the “Do-It-Yourself” aspect by coming up with the entire base and the adjustment mechanisms by hand tools.
The trick is to establish how much of the project that you can do by yourself. and you could purchase the frame and customize your desktop, or build the standing frame and the desktop from the ground up entirely. And while the cost is always a factor, the DIY aspect would be incredible. This project can be broken into sections. So, let's get started:
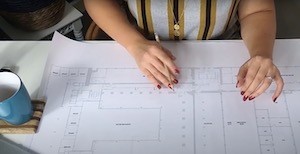
Step 1: Plan the stage for your desk
This step involves taking the measurements for space where you need to fix your desk. And if your work involves laptops and desktop monitors, then the monitor should be placed higher to prevent neck pain, while also making it visible. Overall, you should identify a proper monitor height that is ideal while sitting and when standing.
Step 2: assemble the necessary tools
If you are not familiar with how to use the required tools for whatever option you go with or do not know the obvious woodworking techniques, you can either access a workshop that has the tools to rent to you or pay them to groove and plane the wood and as well make the cuts for you. If you manage to do that, then the rest of the aspects such as sanding and gluing can be done at home. But that only applies if you don't have all the requisite tools, and that's when you can consider using a pre-made frame and tabletop.
Whatever the case, you will need the following materials and tools to build your lifting desk from the ground up:
Tools
- Impact wrench or drill.
- Palm sander with 80 and 240 grit sandpaper.
- Wood plane.
- Circular saw.
- A small paint roller for spreading the glue.
- 4 large woodworking pipe clamps (preferably 0.75-inch size).
- And an assortment of other trigger clamp variations.
Materials and supplies
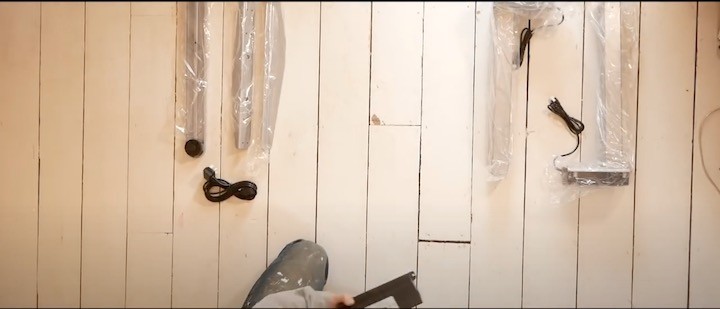
- Standing desk frame (industry or custom made from the ground up)
- Your preferred lumber for the tabletop.
- Quality woodworking glue (16 ounces or more)
- At least 4 pieces of scrap wood that are longer than the width of your tabletop frames.
- Woodscrews.
And depending on whether you want to use the crank or the motorized adjustment knobs, each one has its pros and cons.
- The crank – it doesn’t need electricity to plug, plus there is no risk of breakages. Although the major drawback is that it takes a little longer to adjust.
- The motorized – it is costly but offers a smooth and seamless way to raise or lower your DIY desk.
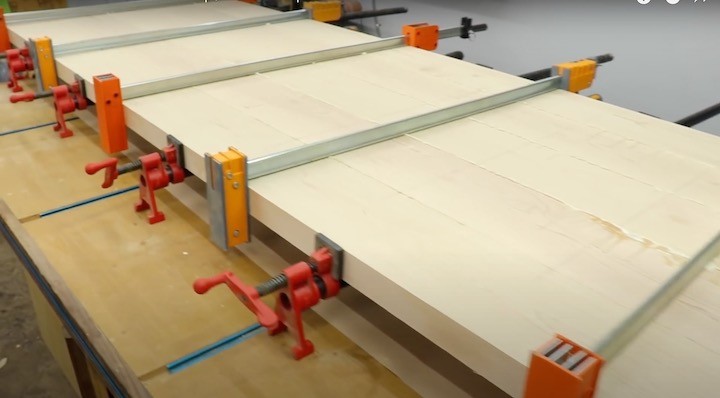
Step 3: Clamp and Glue your tabletop frames
- You will need 4x4 or 2x4 lumber for your tabletop or larger if you use several monitors or you need extra space to place your files and phones.
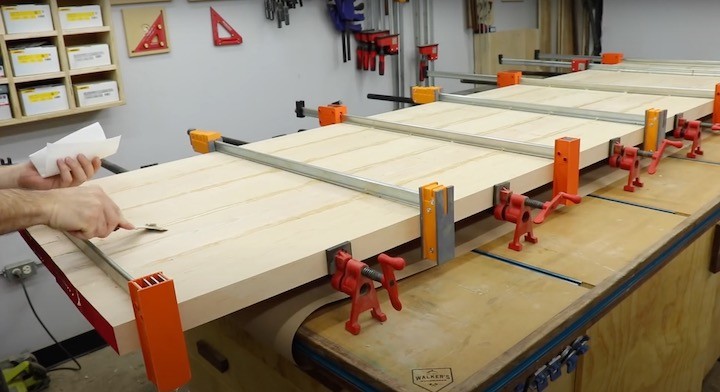
- Apply the glue on the edges of the frames and use the large clamp pipes to hold the frames tight.
- Wait till the glue has dried to take measurements.
- Remember to keep the lumber off the ground while gluing.
- Provide enough clamping force to keep the wooden frames square, and let the glue dry for at least 6 hours.
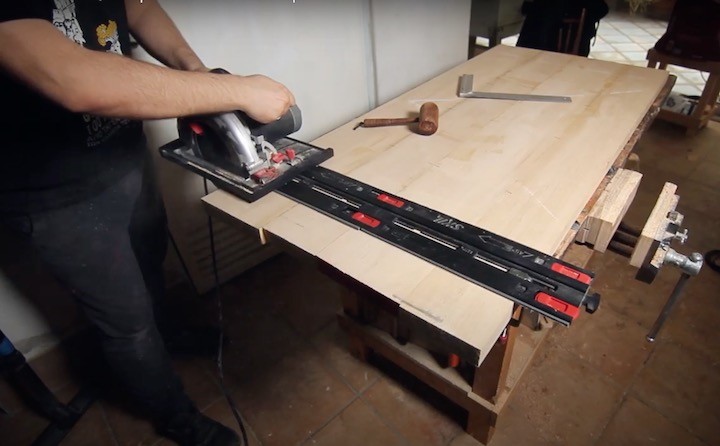
Step 4: Cut the frames to your desired tabletop length
This process will also involve cleaning up all the rough edges that could be visible on your lumber. And that means you have to trim on both ends. While doing so, make sure your circular saw's blade is sharp, and remember to use tape to prevent tear-out.
Step 5: Plane the levels
This stage involves removing any inconsistencies as a result of gluing. You can use a level surface to expose any high points or any ridges left. The planer should be set at a 45-degree angle for better results.
Step 6: Clear the roughened areas with a sandpaper
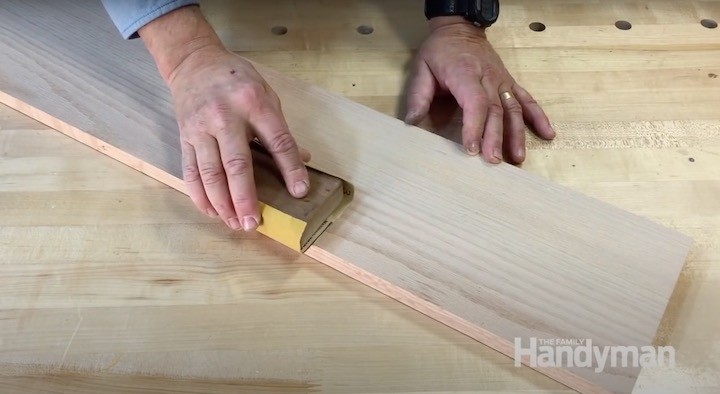
- Place your tabletop on a plain level, and use the orbital sander to finish it.
- It is ideal to start with the 240 grit and then finish with the 80 grit, although it depends on how rough the surface
is.
Step 7: Staining and finishing
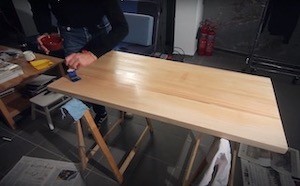
Now that your tabletop is sanded and is smooth, double-check for any dust or debris before you apply your stain or finish. The stain would help condition the wood from weather elements. And you will have to research the type of finish to use because different lumber uses different finishes.
Step 8: Install the tabletop and the crank/motorized controls
This process is fairly straightforward.
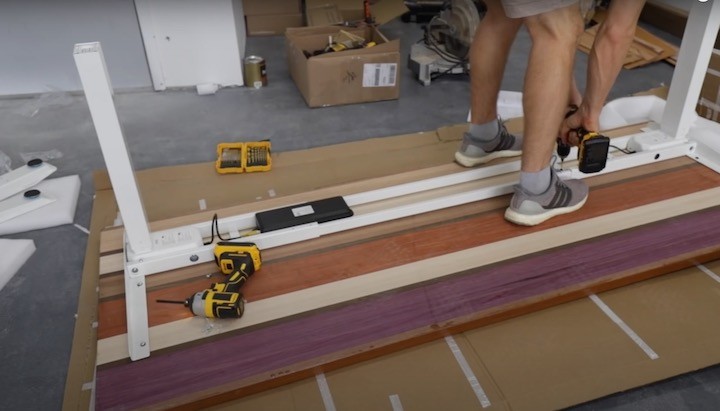
- Position your frame in place to allow a better angle where you can observe the woodscrews. Also, before drilling
the screws, better positioning helps to ensure that the tabletop is centered and aligned squarely on the
frame. - Clamp the tabletop to eliminate movement while driving the screws.
- You can stack extra washers if you feel the screw length isn’t enough to hold the tabletop in place.
- Install the control unit, which could be the crank or motorized types, and you have your DIY lifting desk.
The bottom line
A lifting desk is not only quick to adapt to new assignments but is increasingly being used in today's dynamic world of business as a buffer to certain types of degenerative ailments such as diabetes and heart disease. And that is because our bodies don’t get any better by sitting all day long for 8 to 10 hours per day. studies show that less sitting and more activity contribute to better health overall. And whether it is at the office or home, you can start incorporating standing into your work schedule using an adjustable desk.
This desk can be made at home with handy tools you can borrow from a friend or rent from the local woodwork workshop. And whichever way you go, you have the freedom to choose your design, size, and color to your preference. besides, you can make it fit all your electronics such as speakers, extra monitors, keyboards, and other wired devices, as most occupations such as video editing can be best served by more than one monitor – and you will do all that by yourself using the guide above.
PS: Or you can still buy a ready one:

